Showing posts with label Construction Zone. Show all posts

Friday, October 17, 2008

Bathroom Blunders

Every Spring Break hubby takes our kiddos back to California to visit his family. I always stayed behind because I had to work in our daycare. The first year I found myself devastatingly lonely and depressed. After that first year, I decided to throw myself into a big project during each Spring Break to keep my thoughts and hands busy.

I never tell JD what my Spring Break project is going to be. I like the challenge of getting it finished before they return. And I love seeing their surprised faces when they discover what I conjured up. Bless his heart, JD handles it quite well, considering he never knows if he'll come home to a house that's still standing or not.

One year I built the picket fence bench that sits on our front porch. The next year I built the front porch railing. Another year I built the arbor. And this particular year, 2006, I tackled the bathroom walls and ceiling.

When we bought our home, there was wallpaper in the bathroom. I actually liked the pastel colors in the paper. But the brush stroke design was a bit too abstract for my liking. Besides, it was coming up along some of the seams (which I've found happens a lot in bathrooms)
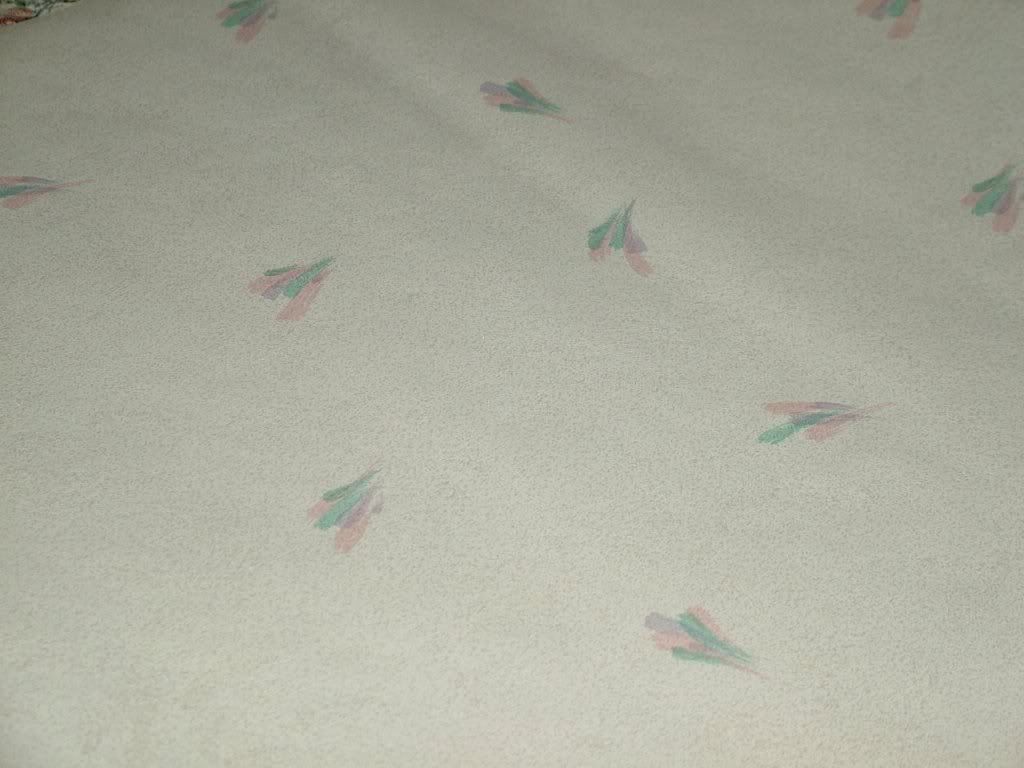


I set to removing it. Initially, this went quite well. Until I got down to the nitty gritty. And found the previous owners had caulked the edges in place along the tile edge. Caulked both on top of and underneath the wallpaper.
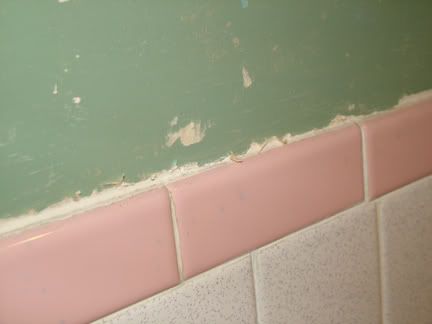


I should not have been surprised. After all, we'd already found many things in the house that they'd caulked for all eternity before. Like outlets.

I spent entirely too much precious time ridding the poor walls of the gooey mess. Then finally was ready to start adding my own touches to the room.

I wanted to paint stripes on the walls. Pink, green and a creamy off-white. As I recall, the green stripes were to be 8 inches wide. The white was 3 inches wide and the pink was 1 inch wide. Or something like that. I primed and painted the walls the off-white. Then I went around with my handy dandy ruler and marked off the stripes for the pink and green.

I worked my way around the whole bathroom, penciling in the stripes. To my utter amazement, when I got to the end, the measurements worked out exactly right. Lady Luck was smiling down on me.
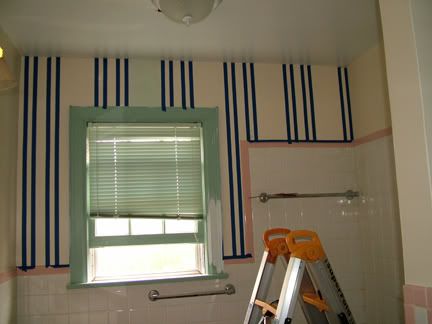

I taped off the lines on one wall. I painted the green stripes.
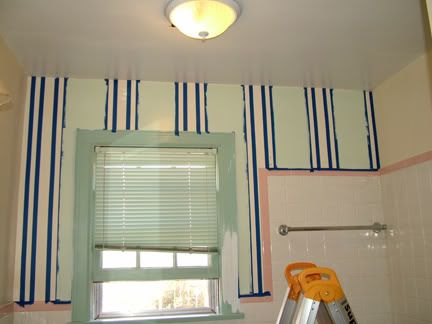


I painted the pink stripes.

I removed the tape. And that's when I realized.

Lady Luck wasn't just smiling on me. She was laughing at me. Hysterically.
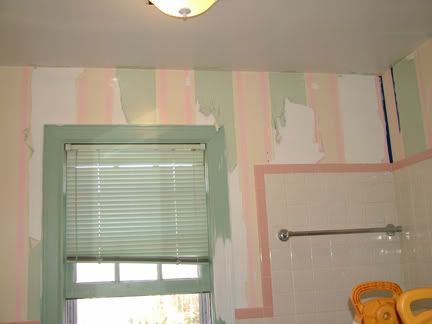
When I pulled off the tape, the paint came with it.

In sheets.

This was not a good day in Kim's World.

I was running out of time. I only had a few days left of Spring Break and I hadn't even started on the ceiling yet. There was no time to start over.

I gave up and painted it all a minty green.
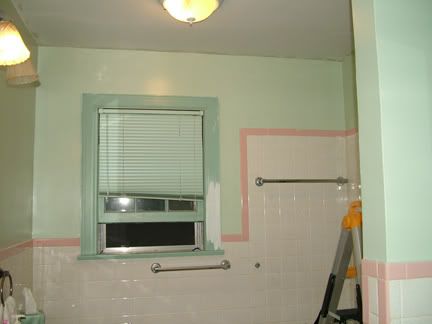


(In hindsight, Lady Luck was right. This look is better)

Next I started on the ceiling.

In case you haven't noticed, I'm a big fan of bead board. We did Blondie's room and bathroom walls with bead board paneling. I decided then that I don't like that stuff. I like the real thing. Her bathroom ceiling was done with the real thing. And I wanted to do the same here.

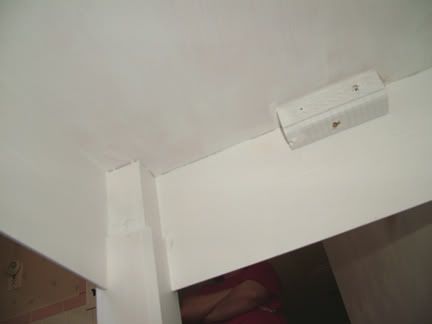
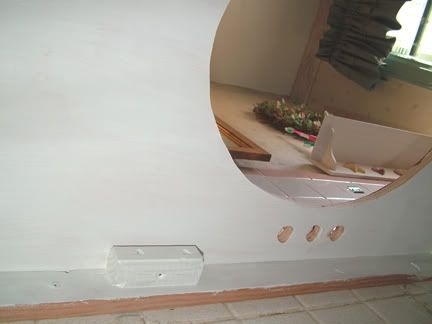
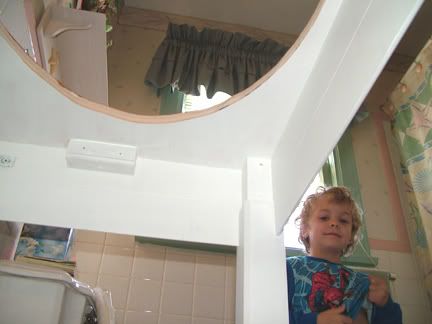
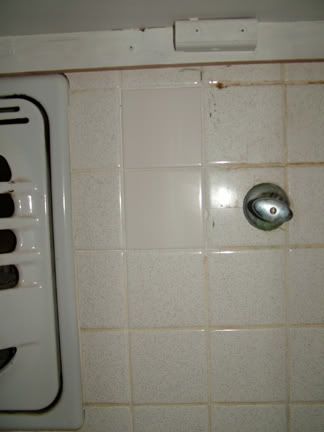
Our 1941 home has no drywall. It's all plaster. Nailing or screwing anything to plaster is a feat in itself. But when you're working on a ceiling, with gravity working against you, it's next to impossible.

Therefore, there are no nails or screws in the following photos.

Introducing my little friend....


And up went the new ceiling. One board at a time.
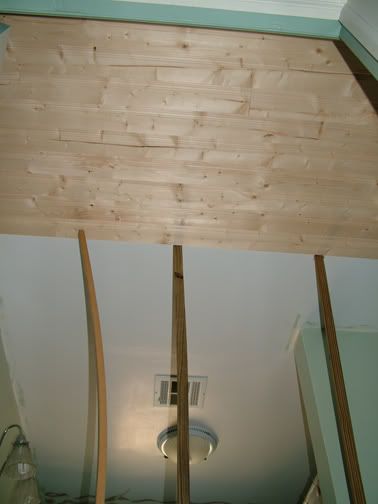


This took several days to complete. Because I had to wait for the glue behind each board to dry before I could add the next one.
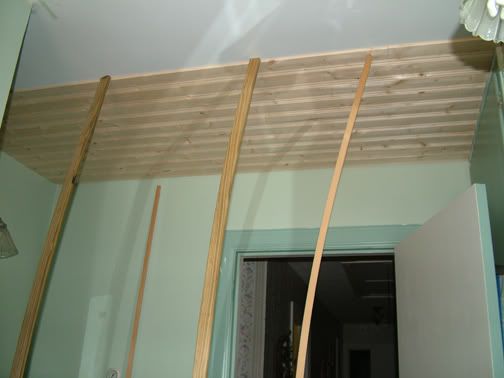


I had to brace each board while it dried too. Mind you, this is the only bathroom on the main floor of our home. And I was running a daycare during this time. The kiddos were so good about snaking their way through the maze of braces each time they used the bathroom.

Here is all the bead board up and primed.


And here it is painted. (Believe it or not, the ceiling is a shade lighter than the walls. Lesson learned: Always go two shades lighter.)


Eventually, I got around to adding crown molding. Except that it's not really crown molding. That doggone budget thing wouldn't allow me to use anything but a very plain Jane crown molding. So I opted to use casing instead. Has a lot more moves n' grooves to it, but without the fancy schmancy price of real crown.
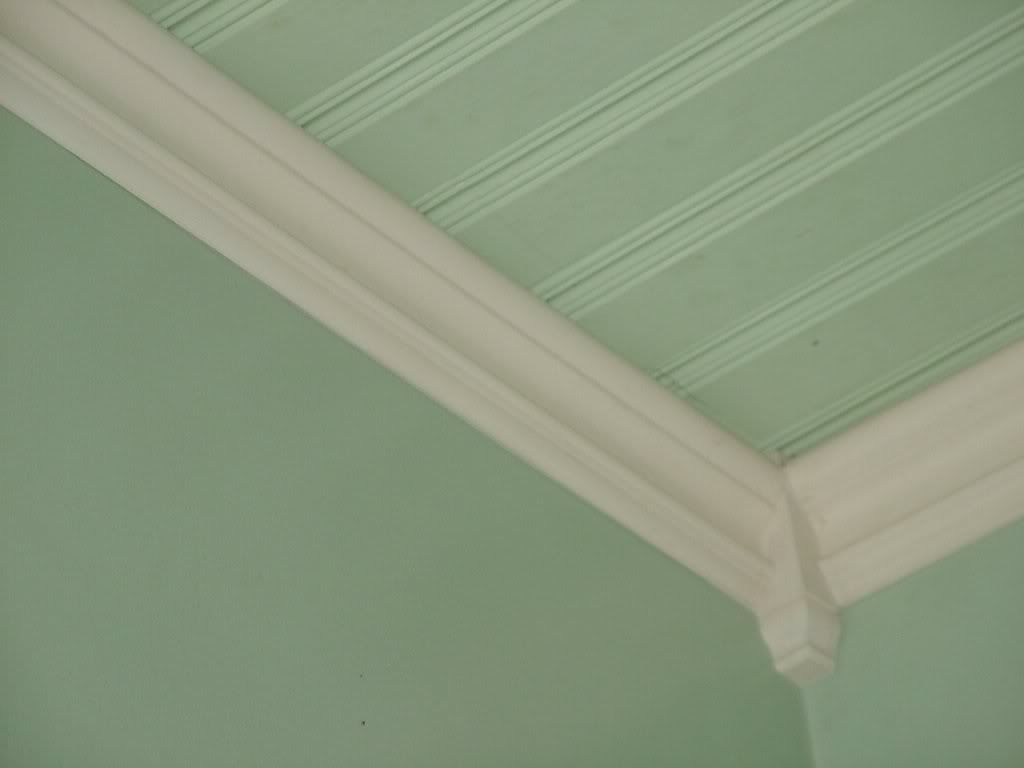

I've been sharing with you some pretty old pictures all week. Come back tomorrow for Pink Saturday and get a glimpse of what this room looks like nowadays. :-)



Thursday, October 16, 2008

The "Other" Sink Project

We always closed our daycare for one week between Christmas and New Year's. While most families are spending precious holiday time together then, JD and I always spent it tackling a project we could not otherwise get done with the daycare open.

2005 was no different. We spent that week on the second sink project.

Again, having an in-home daycare made our situation a bit unique. We were always challenged with finding ways to blend our desires (okay, okay. MY desires) with the requirements of State licensing.

In this case, we were required to provide a new, clean paper or cloth towel for each time the children dried their hands. A single towel hanging on a simple rack would not suffice. We needed to have a space for all those towels. Twelve daycare children + umpteen handwashings each per day = yeah, do the math. Up until this point, we had used a little table for the mountain of towels. Since I knew I wanted a larger countertop, I had to design it with plenty of space for those towels in mind.


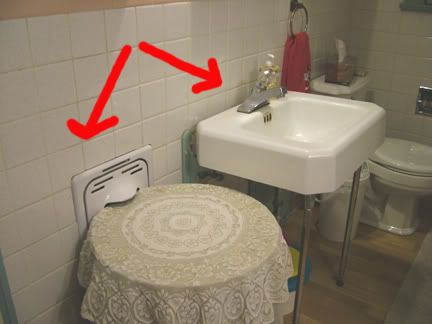
We also had the design challenge of working around a wall heater. We've never used it; I have no idea if it even works. But cosmetically speaking it's in pristine shape. I saw no reason to yank it out and cost myself more wall repairs.

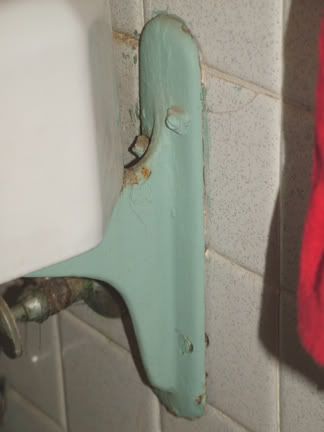
The rusted wall brackets the sink hung on were a different matter altogether, though. They had to go.


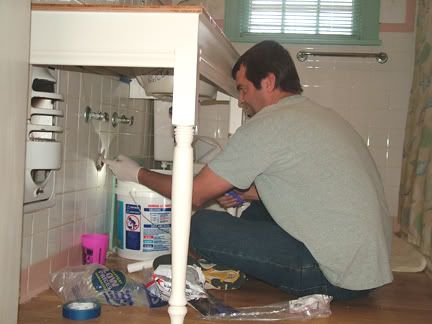
My beloved JD removed the sink and instantly encountered a plumbing problem which would plague us through the whole process. Thus you'll see a bucket under the plumbing in many of the following photos.


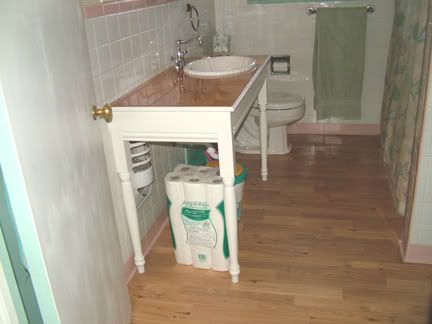
(In that picture you can also see my last design challenge. There is a laundry chute in the wall right next to the toilet. I had to make sure the table wouldn't interfere with the operation of the door of the chute...lest my children would NEVER get their dirty clothes into the hamper.)


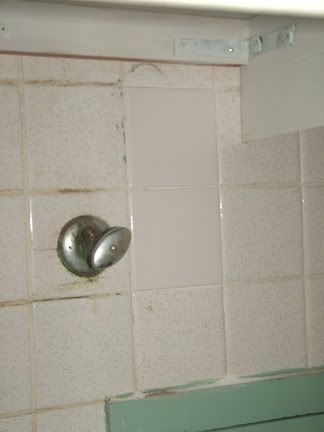
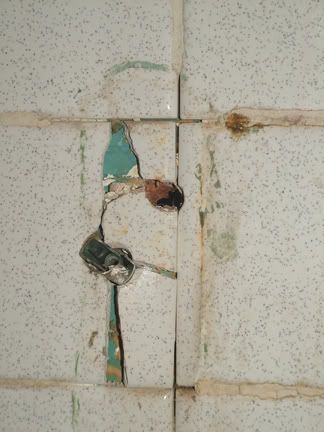
Once we got the brackets off, we found the tiles underneath were in bad shape.


During the Great Falling Wall of Tile Debacle of '07, I learned that used, broken tile can be resurrected in miraculous ways. Sadly, I hadn't had the opportunity to learn this little home-improvement-altering lesson back in '05. So I erroneously thought these broken tiles were beyond salvage and threw them away. Shame on me.


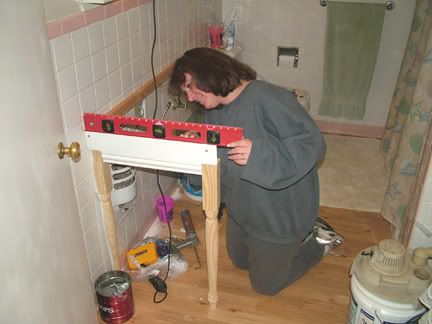
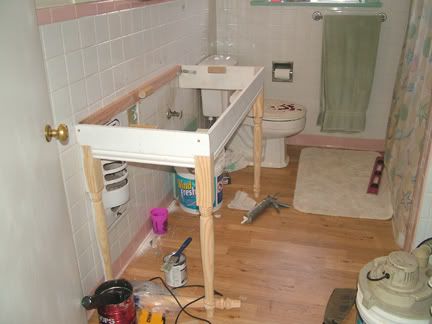
With a design in mind and the brackets out of the way, I began construction. Much like the basement sink and vanity had been constructed.


This time, though, I used left-over baseboard for the apron around the frame. I turned it upside down so the pretty, fluted side was on the bottom.


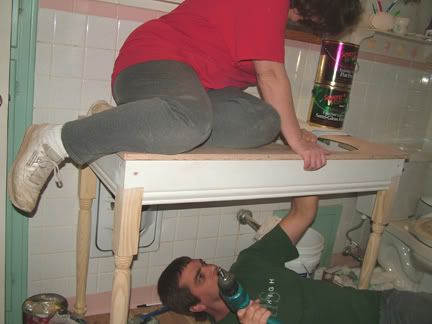
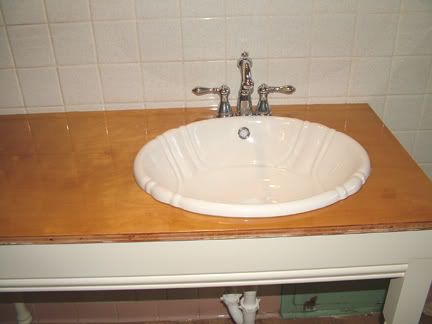
The birch top goes on, just like the previous bathroom. Being fat could be construed as a good thing when acting as a counterweight in a situation such as this. Not to mention it demonstrates how strong the structure is.


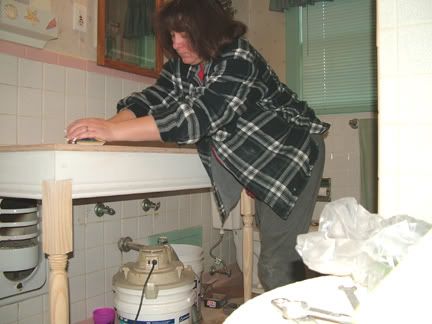
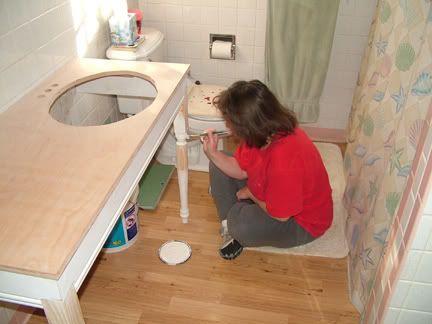
There's a whole lotta sandin' goin' on.


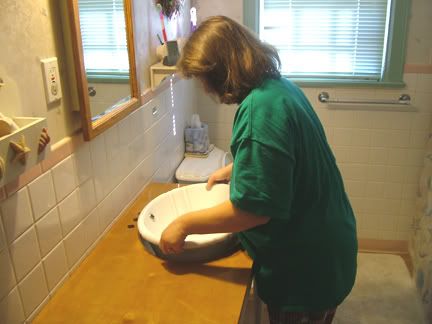
Remember that pretty sink I bought the year before at Favorite Store? She makes her reappearance here, in a dry-run to make sure she fits.


Yes, I used an artist's brush. To get into all those little crevices in the detail work of the legs.


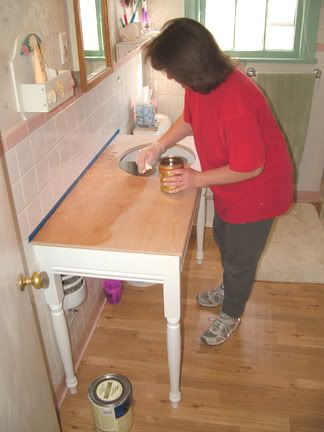
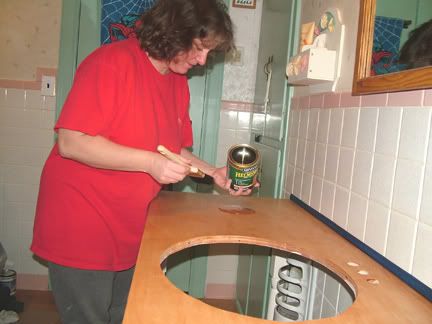
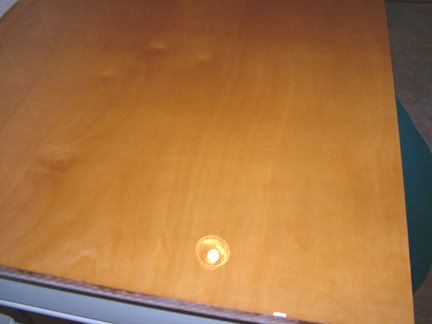
Just like on the previous sink, I stain the birch wood top.


A couple of coats of stain later, the character is starting to come alive, dontcha think?


It's time for the first coat of sealer.


While that's drying, let's crawl underneath and take a closer look at the construction method used, shall we?


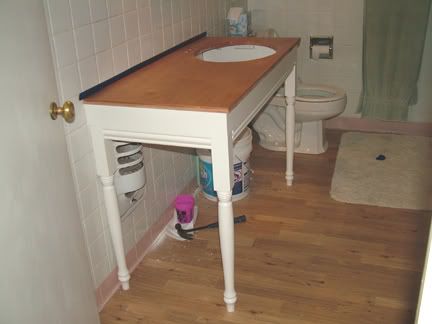
In that photo up there, you can see how I had to add a block of wood to extend the length of each table leg. The ones they had a Favorite Store simply weren't tall enough and custom ordering them was out of the budget. I had done the same thing with the sink (but not the vanity) in the basement.


Well, hello there, my little Wild Man.


Here you can see that I used new, modern tiles to replace the ones that were broken.
And you can see how much they do not match.


I really regret that. I wish I'd known back then what I learned in '07 about saving tiles.


Oh, look at how the light reflects off the surface!


It's now New Year's Eve and the moment of truth....will she still fit?


My favorite plumber is back again.

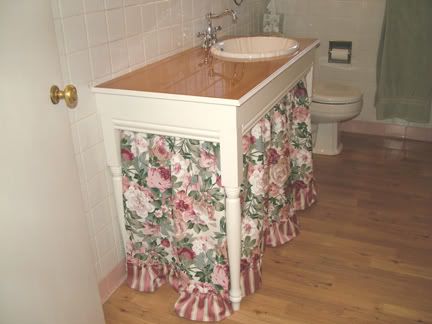
(You may have noticed by now that there is no back leg on the right side. Yes, my poor decrepit table is 3-legged. This is due to aforementioned laundry-chute-opening-dilemma. But have no fear! You'll see later why no one has ever noticed the table is appendagely-challenged.)


Truth be told, we spent more on the faucet than we did on everything else combined. How sad is that?


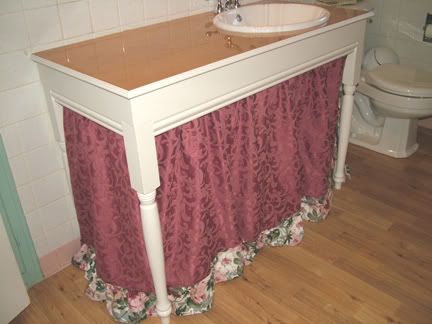
Here it is with the white trim added around the wooden top.


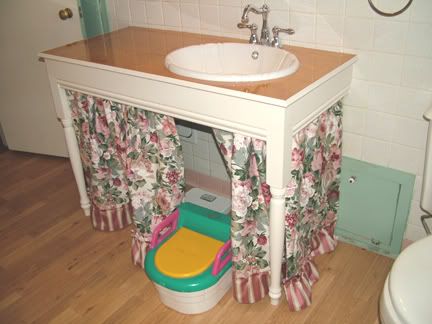
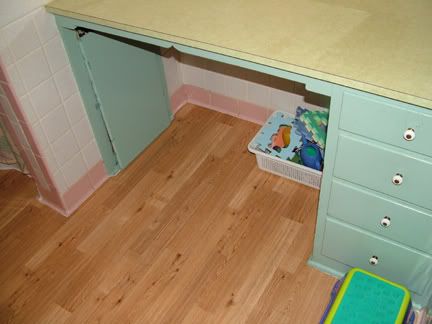
And this is the skirt I made for it. Actually, it is 5 separate skirts. One for each side and three narrow ones for the front.


This is why I made 3 for the front. To make it easier to open and close. During daycare hours, I left the skirt open under the sink so the kiddos could use the potty chair (they actually used it as a step stool, not a potty. What can I say? LOL)Then after hours we'd slide the potty back under and close up the skirt. Outta sight, outta mind!

And now you see why no one ever questions if there's a 4th leg back there. The skirt appears to hide it. ;-)

The skirt is reversible. This is its alter ego, for fall and Christmas.


Wednesday, October 15, 2008

Everything In Its Own Time

Yesterday I shared the remodel of our basement bathroom. Today we move upstairs to our main bathroom.

I will get to the sink project. I promise. But first I feel like I've got to show you what lead up to it. So that it all comes together in the right order and you can understand where we were versus where we are today in this never-ending construction zone we like to call Home.

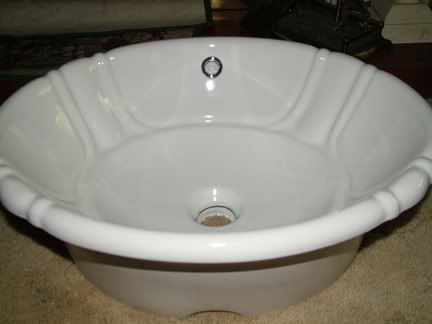
First things first. About a year or so prior, I was at my very favorite store in town (Lowe's). Out front they had many things that were marked down on clearance. I spied a sink basin that I really liked. It was marked down 75% off because it had a chip underneath in the back. Where no one would ever see it.


I talked to one of the associates and he marked it down another $10 for me. I couldn't get to the register fast enough with my new treasure for my someday bath remodel.


I brought it home, snapped some photos, and took it up to the attic to store it away. (never mind that nasty old carpet. It's long since gone) Keep that sink in mind. It shall come back into play very soon here.


Now we move to February, 2005. This is what we started with in the bathroom.


Priority One was to re-do the flooring. It was original to the house and yukky. I knew I would eventually be building another sink table like the one in the basement. And I knew that once I built it, I would not be able to pull up the old or lay down new flooring. The flooring had to be the starting point.

Again, I consulted with the pro's. The recommendation was to not pull up the linoleum if we could avoid it because of that nasty old asbestos thing. Since the floor was solid and smooth, it was recommended to go over it with new flooring.


In my dream cottage, I would have real hardwood floors in my bathroom. But that wasn't possible here, as they would be too thick. They would go over the lip of the pink tile 'baseboard' going all the way around the bathroom. No way was I going to mess with my beautiful pink tile.

I happened to find a remnant of padded sheet vinyl at Favorite Store. From my estimations the remnant should just oh-so-barely fit the bathroom. If I held my breath just right.

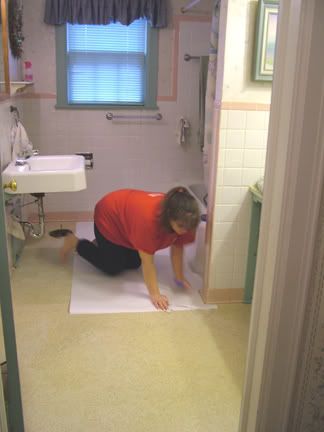
JD removed the toilet and I set to creating a template of the bathroom floor.


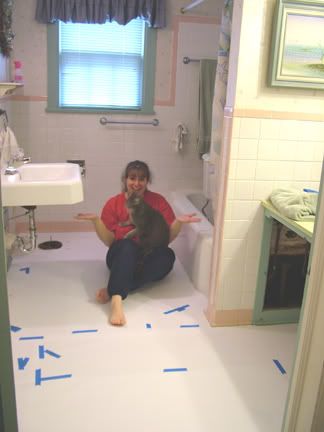
Thankfully Kitty didn't come join me until after I got all the template pieces put together.


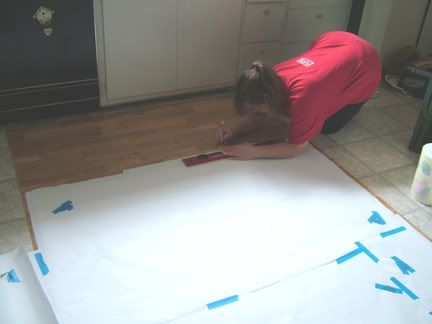
Then I sprawled out across the kitchen floor, cutting the vinyl flooring to match my new template.


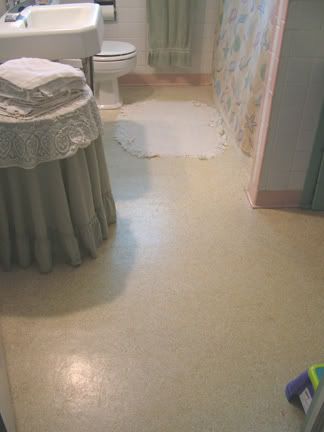
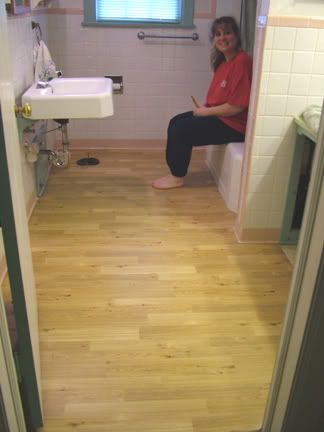
That first big piece went in like a charm.


I was left having to piece together sections of the remnant to fit under the vanity. Harder than it sounds, when you have to match up seams and patterns, and only have a small remnant to begin with.


I think it came out looking pretty good, though. By the way, I did not build this vanity. It is original to the house and will be staying. Painting it and installing a new birch top to match the sink counter top are still on my Self To Do list.


A celebratory smooch for a good days' work.


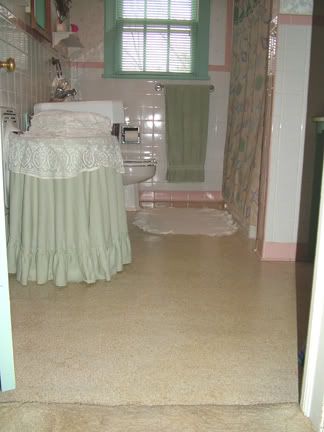
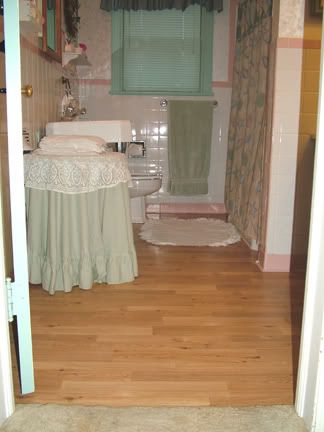
Here's the bathroom put back together again at the end of the day.


Remnant vinyl sheet: $20
Template Kit: $12
Adhesive Tape: $6

Not a bad Saturday project for just $38, eh?


Next up, the sink project.

Tomorrow. ;-)