I will get to the sink project. I promise. But first I feel like I've got to show you what lead up to it. So that it all comes together in the right order and you can understand where we were versus where we are today in this never-ending construction zone we like to call Home.
First things first. About a year or so prior, I was at my very favorite store in town (Lowe's). Out front they had many things that were marked down on clearance. I spied a sink basin that I really liked. It was marked down 75% off because it had a chip underneath in the back. Where no one would ever see it.

I talked to one of the associates and he marked it down another $10 for me. I couldn't get to the register fast enough with my new treasure for my someday bath remodel.
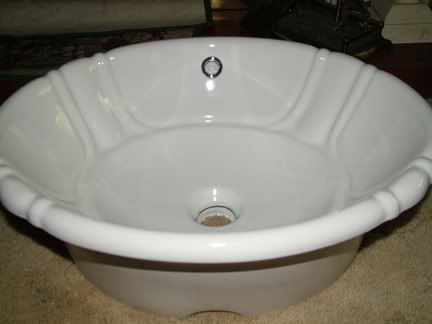
I brought it home, snapped some photos, and took it up to the attic to store it away. (never mind that nasty old carpet. It's long since gone) Keep that sink in mind. It shall come back into play very soon here.
Now we move to February, 2005. This is what we started with in the bathroom.
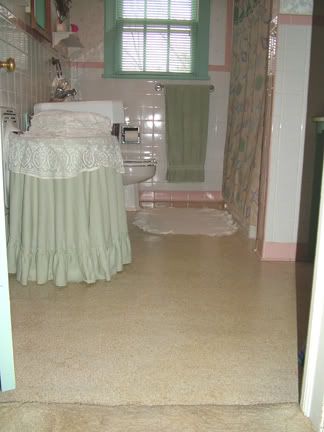
Priority One was to re-do the flooring. It was original to the house and yukky. I knew I would eventually be building another sink table like the one in the basement. And I knew that once I built it, I would not be able to pull up the old or lay down new flooring. The flooring had to be the starting point.
Again, I consulted with the pro's. The recommendation was to not pull up the linoleum if we could avoid it because of that nasty old asbestos thing. Since the floor was solid and smooth, it was recommended to go over it with new flooring.
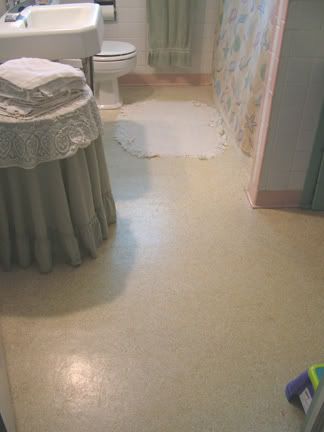
In my dream cottage, I would have real hardwood floors in my bathroom. But that wasn't possible here, as they would be too thick. They would go over the lip of the pink tile 'baseboard' going all the way around the bathroom. No way was I going to mess with my beautiful pink tile.
I happened to find a remnant of padded sheet vinyl at Favorite Store. From my estimations the remnant should just oh-so-barely fit the bathroom. If I held my breath just right.
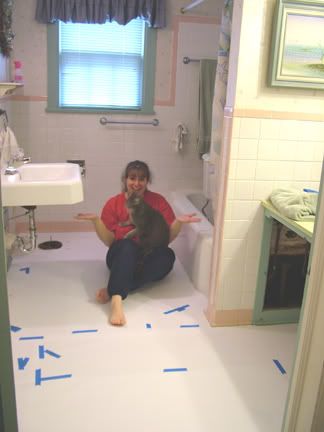
JD removed the toilet and I set to creating a template of the bathroom floor.
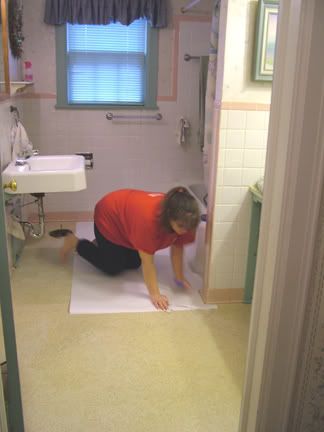
Thankfully Kitty didn't come join me until after I got all the template pieces put together.
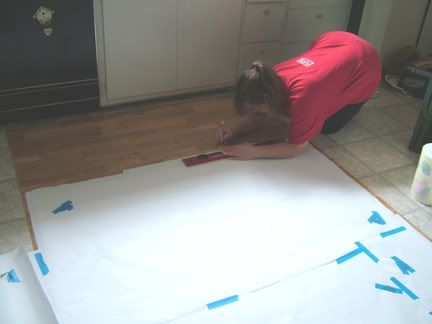
Then I sprawled out across the kitchen floor, cutting the vinyl flooring to match my new template.
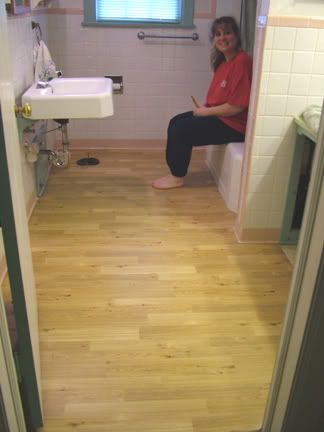
That first big piece went in like a charm.
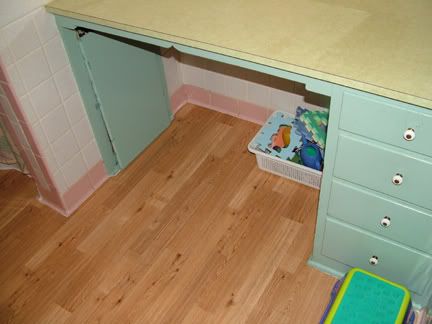
I was left having to piece together sections of the remnant to fit under the vanity. Harder than it sounds, when you have to match up seams and patterns, and only have a small remnant to begin with.
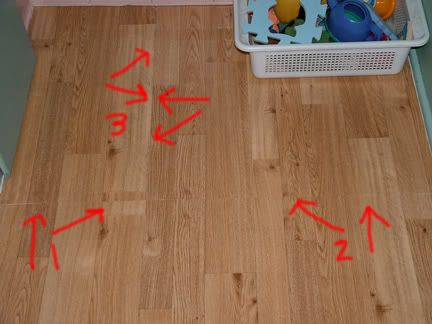
I think it came out looking pretty good, though. By the way, I did not build this vanity. It is original to the house and will be staying. Painting it and installing a new birch top to match the sink counter top are still on my Self To Do list.
A celebratory smooch for a good days' work.

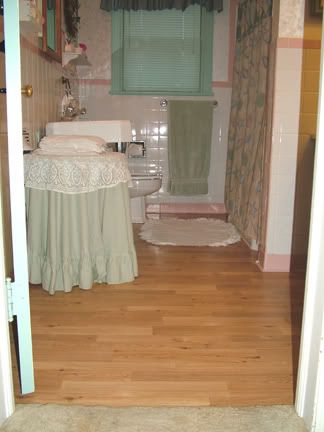
Here's the bathroom put back together again at the end of the day.
Remnant vinyl sheet: $20
Template Kit: $12
Adhesive Tape: $6
Not a bad Saturday project for just $38, eh?
Next up, the sink project.
Tomorrow. ;-)




5 comments:
Hi Kim! I just came across your blog through Cindy at My Romantic Home. I've been spending time reading some of your posts and I just love your blog!! Your home is beautiful and I love the projects you've done and the outcome. I am so sorry about the accident and your daughter moving out. You seem like a very nice person and I will be back to visit with you again.
Great job! What a difference, and it looks fantastic.
KIm! It looks gorgeous, you did a beautiful job! I too adore hardwood :)
Hugs,
Amy
Great job at very little cost too. I know how good that makes you feel.
Your floor looks great. You did an awesome job and I especially love the price. Oh to have $38 jobs. I'd take them on every weekend!
Becky
Post a Comment