


2005 was no different. We spent that week on the second sink project.
Again, having an in-home daycare made our situation a bit unique. We were always challenged with finding ways to blend our desires (okay, okay. MY desires) with the requirements of State licensing.
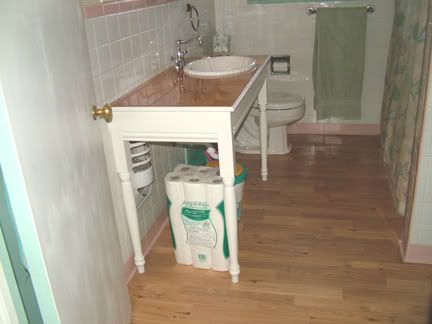
In this case, we were required to provide a new, clean paper or cloth towel for each time the children dried their hands. A single towel hanging on a simple rack would not suffice. We needed to have a space for all those towels. Twelve daycare children + umpteen handwashings each per day = yeah, do the math. Up until this point, we had used a little table for the mountain of towels. Since I knew I wanted a larger countertop, I had to design it with plenty of space for those towels in mind.
We also had the design challenge of working around a wall heater. We've never used it; I have no idea if it even works. But cosmetically speaking it's in pristine shape. I saw no reason to yank it out and cost myself more wall repairs.
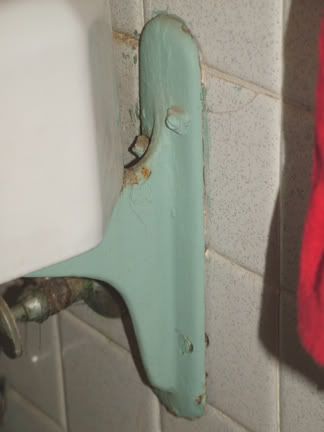
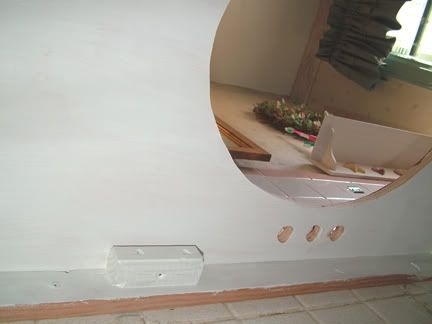
The rusted wall brackets the sink hung on were a different matter altogether, though. They had to go.
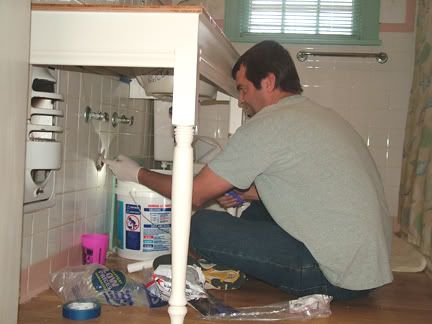
My beloved JD removed the sink and instantly encountered a plumbing problem which would plague us through the whole process. Thus you'll see a bucket under the plumbing in many of the following photos.

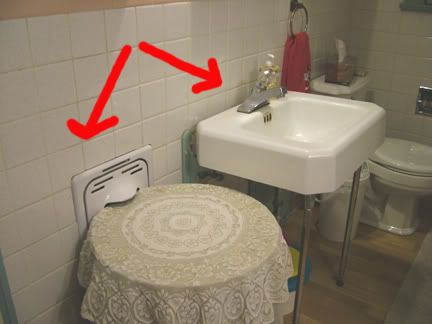
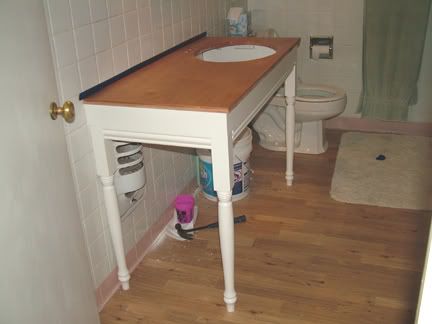
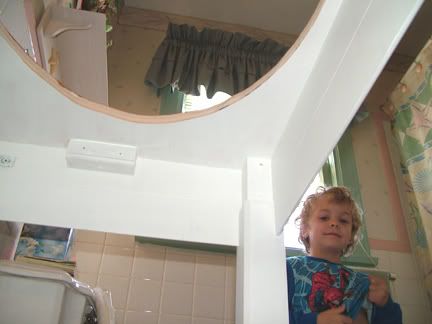
(In that picture you can also see my last design challenge. There is a laundry chute in the wall right next to the toilet. I had to make sure the table wouldn't interfere with the operation of the door of the chute...lest my children would NEVER get their dirty clothes into the hamper.)
Once we got the brackets off, we found the tiles underneath were in bad shape.
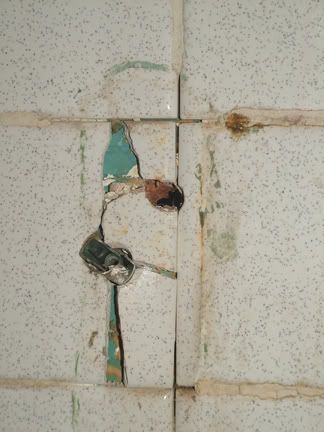
During the Great Falling Wall of Tile Debacle of '07, I learned that used, broken tile can be resurrected in miraculous ways. Sadly, I hadn't had the opportunity to learn this little home-improvement-altering lesson back in '05. So I erroneously thought these broken tiles were beyond salvage and threw them away. Shame on me.
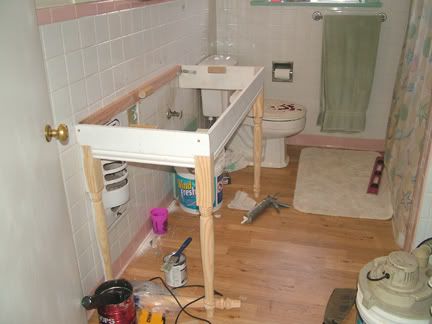
With a design in mind and the brackets out of the way, I began construction. Much like the basement sink and vanity had been constructed.
This time, though, I used left-over baseboard for the apron around the frame. I turned it upside down so the pretty, fluted side was on the bottom.
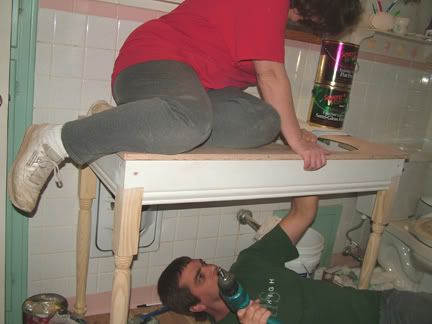
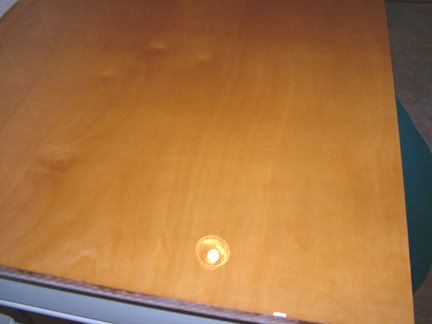
The birch top goes on, just like the previous bathroom. Being fat could be construed as a good thing when acting as a counterweight in a situation such as this. Not to mention it demonstrates how strong the structure is.
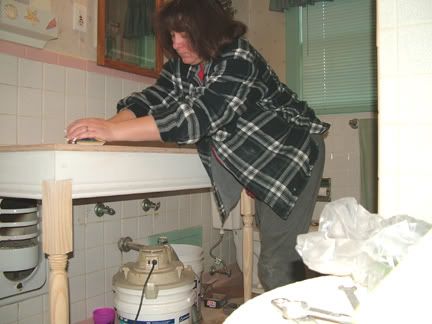
There's a whole lotta sandin' goin' on.
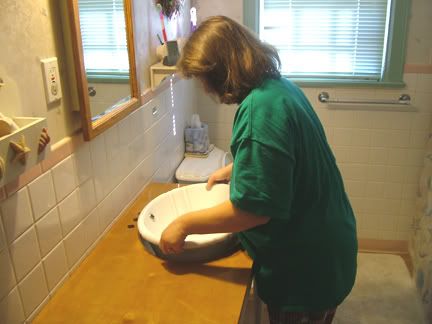
Remember that pretty sink I bought the year before at Favorite Store? She makes her reappearance here, in a dry-run to make sure she fits.

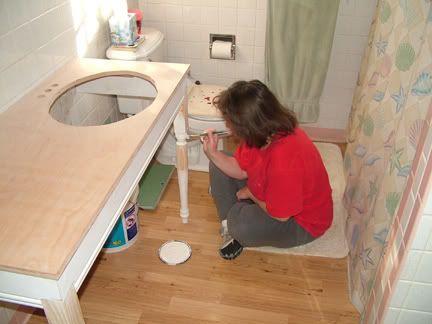
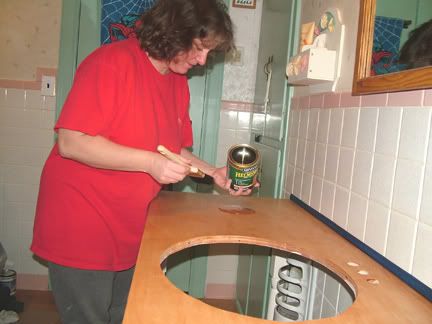
Yes, I used an artist's brush. To get into all those little crevices in the detail work of the legs.
Just like on the previous sink, I stain the birch wood top.
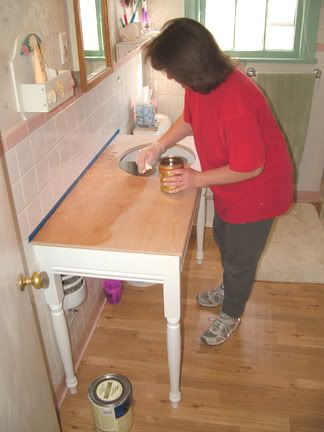
A couple of coats of stain later, the character is starting to come alive, dontcha think?
It's time for the first coat of sealer.
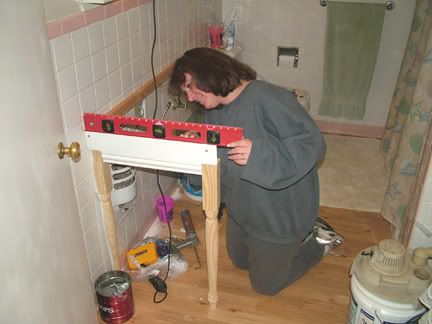
While that's drying, let's crawl underneath and take a closer look at the construction method used, shall we?
In that photo up there, you can see how I had to add a block of wood to extend the length of each table leg. The ones they had a Favorite Store simply weren't tall enough and custom ordering them was out of the budget. I had done the same thing with the sink (but not the vanity) in the basement.
Well, hello there, my little Wild Man.
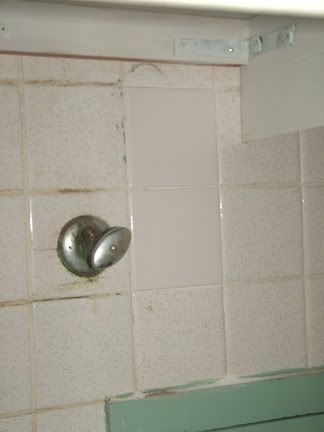
Here you can see that I used new, modern tiles to replace the ones that were broken.
And you can see how much they do not match.
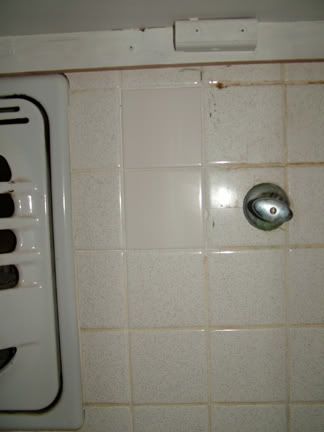
I really regret that. I wish I'd known back then what I learned in '07 about saving tiles.
Oh, look at how the light reflects off the surface!
It's now New Year's Eve and the moment of truth....will she still fit?
My favorite plumber is back again.
(You may have noticed by now that there is no back leg on the right side. Yes, my poor decrepit table is 3-legged. This is due to aforementioned laundry-chute-opening-dilemma. But have no fear! You'll see later why no one has ever noticed the table is appendagely-challenged.)
Truth be told, we spent more on the faucet than we did on everything else combined. How sad is that?
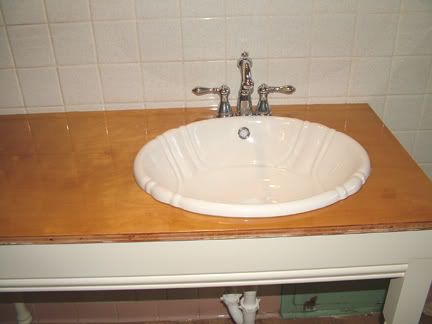
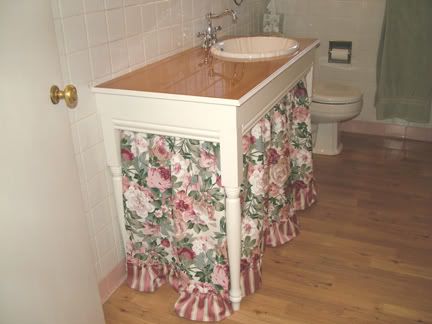
Here it is with the white trim added around the wooden top.
And this is the skirt I made for it. Actually, it is 5 separate skirts. One for each side and three narrow ones for the front.
This is why I made 3 for the front. To make it easier to open and close. During daycare hours, I left the skirt open under the sink so the kiddos could use the potty chair (they actually used it as a step stool, not a potty. What can I say? LOL)Then after hours we'd slide the potty back under and close up the skirt. Outta sight, outta mind!
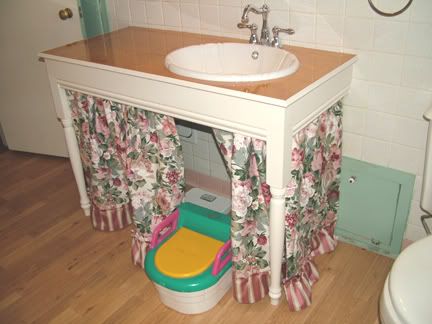
And now you see why no one ever questions if there's a 4th leg back there. The skirt appears to hide it. ;-)
The skirt is reversible. This is its alter ego, for fall and Christmas.


5 comments:
Aren't bathroom projects fun? I love what you and your hubby have done. I am impressed with the piece of furniture that you have made and love the skirting. How clever is that! I like that you can give your bath a whole new look whenever you want.
Becky
You two did a beautiful job!! I love the skirt around the bottom of the sink, you'll have fun making all different ones. I wonder if you could use curtains too, I don't know how you have it attached but you could probably use curtain rods between the legs and wall, I'm rambling.LOL. Anyway, I was coming over here to let you know about my NEST sign you asked about, and I bought that at a little store here in my town although I have seen them somewhere else I can't remember where though. Thanks for your sweet comments.
Hugs~Kelly
Wow - I love the sink project - it is lovely. Kudos to you and hubs for taking on such a project. It really makes sense to hide the little potty chair, too.
I love the skirts alter ego!!
Heidi Jo the Artist
http://swirlsofcreativity.etsy.com
http://swirlsofcreativity.blogspot.com
This was grreat to read
Post a Comment