


Miss Angela, as you requested, here is the first of the bathroom remodels I did. (You are one brave woman to want to walk down this memory lane with me.)
This was back in 2003. Sadly, I did not take any "before" pictures. Actually, it's probably for the best. Ya'll would run for the hills if you saw what the bathroom started out as. It made Angela's guest bathroom look like a spa retreat. I kid you not.
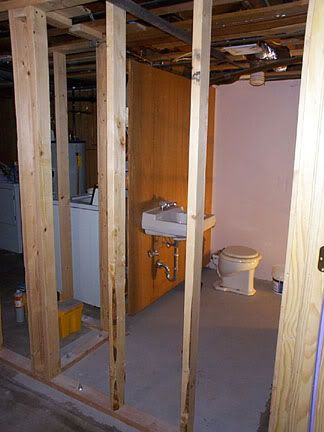
It is in the basement. It is situated between Blondie's bedroom and the laundry room. It was a "man's room", without a doubt. No woman would ever want to step foot in there. The entry was off the laundry room. The bathroom held just a rusty old toilet and one of the tiniest little wall-hung sinks you've ever seen in your life. Bare open ceiling, exposing the floor joists of the floor above. Since it is a basement, there were bare exposed pipes throughout. And of course the concrete floor. The walls were simple 1/4 inch paneling. Trust me, it was gross.
We set into demo mode. We tore out all the walls, except the one separating the bathroom from the laundry room. Even that one went down to the studs, though. JD, his dad, a friend of ours and I did the demo and re-framing together.
We reconfigured the layout so the doorway to the bathroom was now in Blondie's bedroom. We also gave her a closet.
This is with the new studs. The room is already doubled in size at this point. See how eensy that sink was?
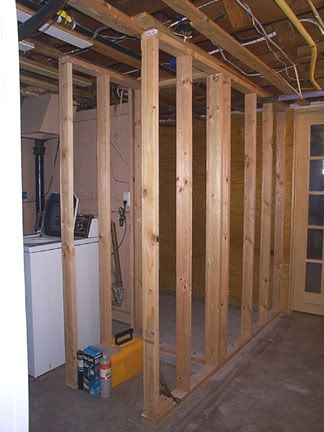
This is a view showing the new studs in place for a cabinet to go next to the washing machine. Basically, on the top half of the cabinet, the back section opens into the bathroom as a linen closet. The front half opens to the laundry room as a separate cabinet. I know, it doesn't make sense. It's hard to explain. (And in full disclosure, that cabinet still is not finished out to this day.) The French door you see on the right is the entry to Blondie's bedroom.
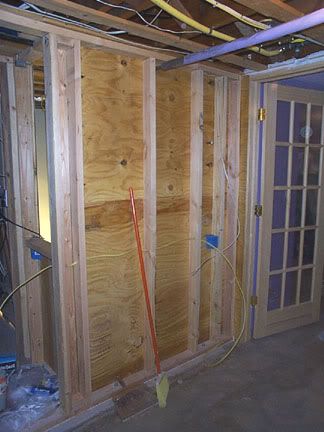
Another shot, further along in the process. Again, bathroom cabinet opening on the left, bedroom French door opening on the right.
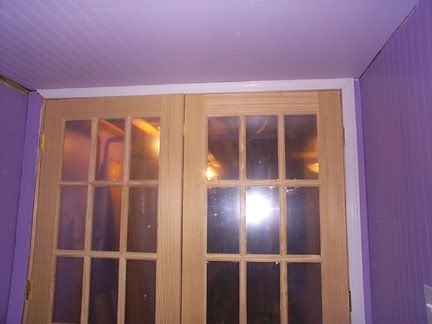
Not that it really matters, but here's a in-construction shot of her bedroom doors in case anybody cares.
This is the closet we built in for her. Yes, Blondie was into purple.

We originally wanted to install a shower. But after consulting with professionals, we decided against it. They told us it would require forging through a perfectly sound foundation. Not real appealing to us. They also said it would mean trying to tie new plumbing into 60 year old plumbing and it would probably end up costing us a whole new sewer line...under that perfectly sound foundation. We saw major dollar signs and opted to take their advice. No shower.
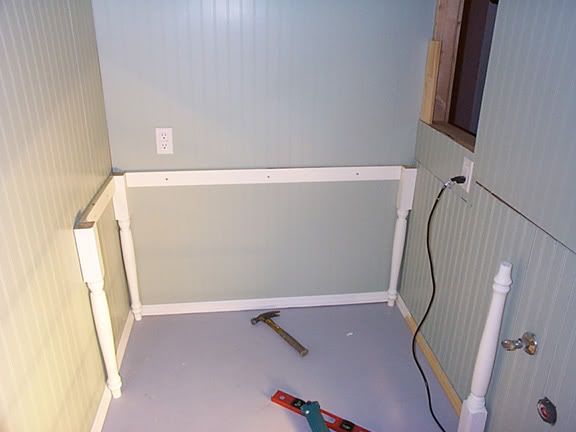
So where the shower was originally slated to go, I decided to give Blondie a vanity instead. At this point I took the project over. This is where the "cute" factor comes in to play. Or at least as cute as you can get in a basement.
The beginning stages of the vanity. I built it right onto the wall.
JD peaks in at me through the cabinet opening while I work.
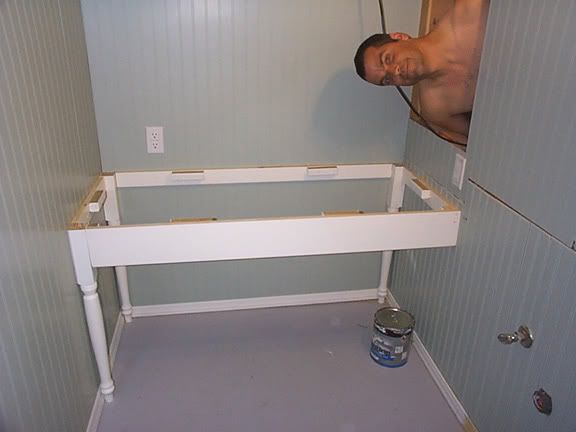
The top of the vanity is in place. It is birch. The first two legs of the sink stand are in place too.
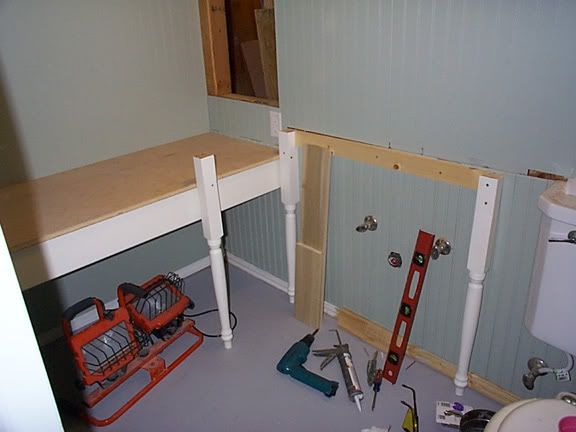
Support cleats and another leg go up.
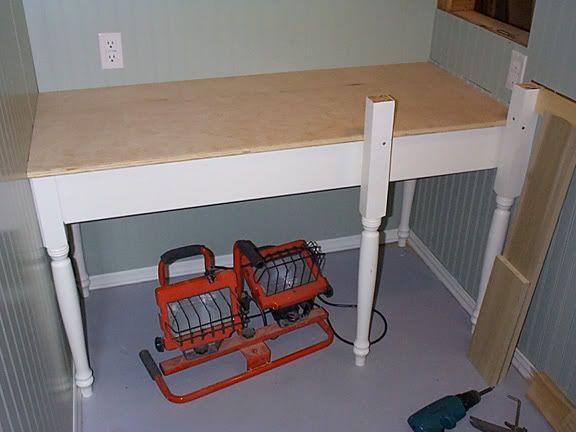
The sink stand is framed and the matching birch top is in place.

I don't have pics of the next phase. I cut out the sink opening. Stained the counter tops. Applied sealer. Again. And Again.
And I made two mirrors.
It ended up looking like this.

You'll notice we kept the original toilet. That again was at the recommendation of the plumbing guys. Something about the opening to the toilet matches the opening to the sewer line...but today's toilets wouldn't fit so we'd have had to re-do the sewer. I don't know. Plumbing's not my long suit. All I know is it was in the same vein as why we didn't install a shower. Money Money Money and not wanting to tear up a perfectly good foundation.
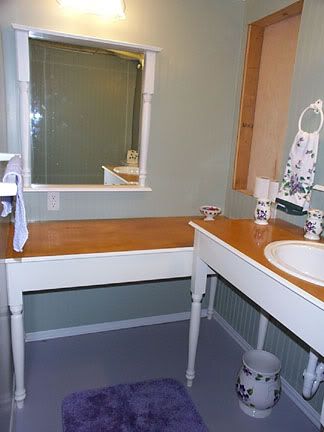
You'll also notice the floor is still concrete. I simply painted it a steel gray. Again, this was because of the whole basement factor. Being that it is below grade, we live in an old part of town where the infrastructure is old, the city water sometimes backs up into our basements. Knowing that this will happen (because it already has a few times) we didn't want to go to the expense of putting down new flooring, just to have it ruined in a few years by the city's water.
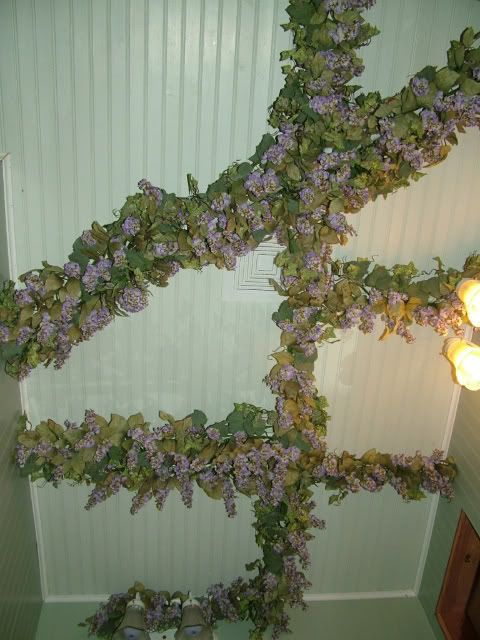
Wanna see what I call "Creative Concealment"?
Again, basement. Lots of pipes running through it. The ceiling is already low (only 7 feet high). Lowering it even further to hide the pipes would make my 6'2" hubby feel claustrophobic.
So I painted all the pipes the same color as the ceiling. Then I spent just shy of a small fortune on violet colored wisteria swags from Home Interiors. These criss-cross the ceiling, covering the pipes.
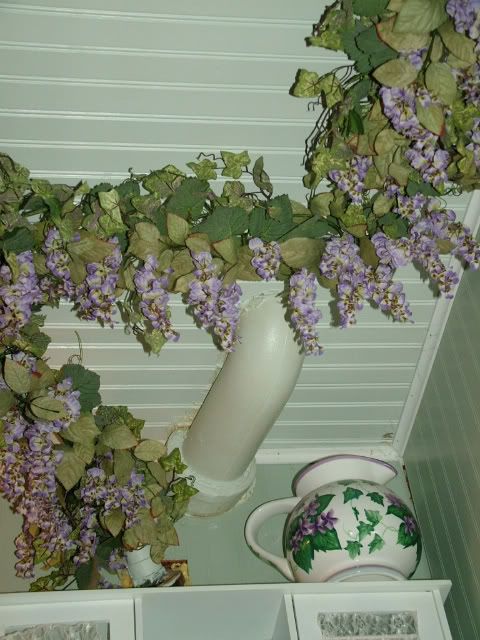
There are still some spots where the pipes show (this pic is over the toilet). But hey? I did the best I could with what I had to work with.
As for the mirrors, people always ask about them. The sides are table legs that match the legs of the vanity and sink stand. Here is a close up shot from my Pink Saturday post.
I cut the table legs in half lengthwise so the flat side could go against the wall. I cut them by hand, just using a circular saw. A hand-held circular saw. Holding the round table leg in one hand and the saw in the other. DUMB-O! Children, do not try this at home. It's a miracle I didn't lose a finger or two. I'll never do that again. Next time I'll use a table saw and keep my fingers to myself.
The mirrors each have a shelf below and a shelf up top. I wanted to give Blondie little "niches" to put her make-up, knick-knacks, or whatever.
So there you have it. My first bathroom vanity/sink project.
If you're interested, I'll post the second one tomorrow.


3 comments:
Oh my gosh, I am so impressed! That bathroom is SUPER cute, and that vanity!!! I want to make one just like it. How did you attach the apron to the legs? I can't see from the picture. It doesn't look like you did mortise/tenons -- did you just use L-brackets or something? No, wait, you used little 1x1 blocks of wood, yes? Genius! Is it okay if I copy you? I'll link back here when I post it on my blog...?
~Angela
Oh yes, and please, post the 2nd one! :-)
Am totally loving the transformation and would love to see more, more and more!
I also wanted to thank you for weighing in on my recent post. Everyone's thoughts and opinions are very valuable to me.
oxox
Jennifer
Post a Comment